 DoughPrint
How to Turn Flat Artwork into a Multicolor 3D Print (No CAD Needed)
A flat drawing already contains everything a multicolor print needs — you just have to tell each color how tall it is. Here's the whole workflow, from preparing the artwork to the one setting that decides whether your color changes look crisp or smeared.
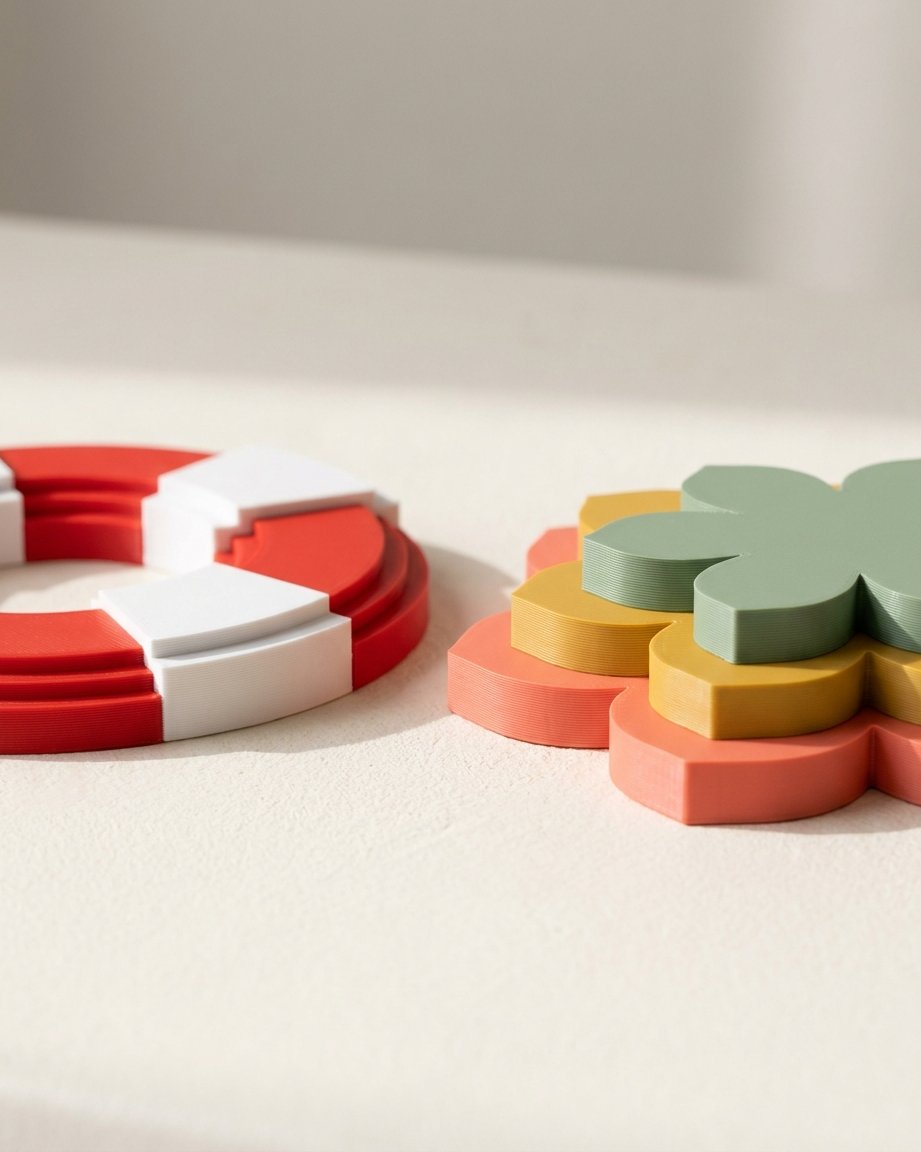
The short answer. Take a flat vector drawing where every area has its own fill color. Each color area becomes a zone; give every zone a height and you have a layered 2.5 D model. Export it as a 3MF and your slicer sees one object with a part per color, ready to map to filaments. No CAD, no sculpting — and no multi-material printer required, because every color change lands on a flat layer boundary you can swap by hand.
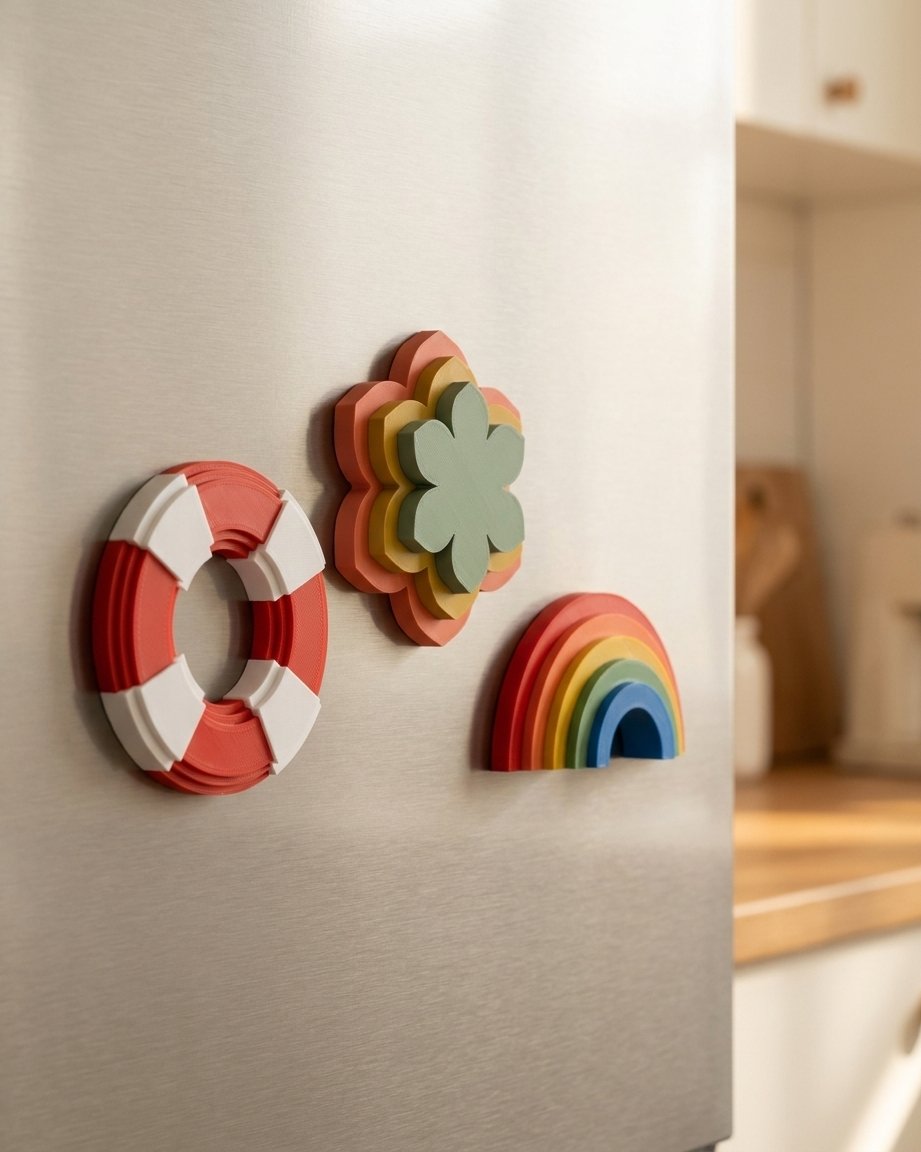
Multicolor 3D printing has a reputation for being fiddly, and if you're painting individual faces of an organic model it deserves that reputation. But there's a whole category of prints where it's genuinely easy: flat, layered pieces — fridge magnets, cake toppers, coasters, name plaques, keyrings, wall signs. Those are the things people actually buy, and the artwork for them is just a flat drawing.
What "2.5D" actually means (and why it prints so well)
2.5 D sits between a flat print and a real 3D model. You start with a two-dimensional shape and give every region a height — like a topographic map, or a stack of paper cut-outs. The result has depth you can feel, but every surface is either perfectly flat or perfectly vertical.
That constraint is exactly why it prints so well:
- No supports. Nothing overhangs, so nothing needs propping up.
- Perfect top surfaces. Flat tops are the one thing FDM printers do beautifully, and they're most of what you see.
- Clean color changes. A color boundary is a horizontal plane, so the swap happens between layers instead of mid-layer.
- Fast. A magnet-sized piece is 30–60 minutes, not an overnight job.
Step 1: Draw the top view — not a picture of the object
This is the single biggest thing that decides whether your model looks right, and it catches almost everyone once. Your artwork is extruded straight up. So the drawing has to be what the printer sees looking directly down at the finished piece.
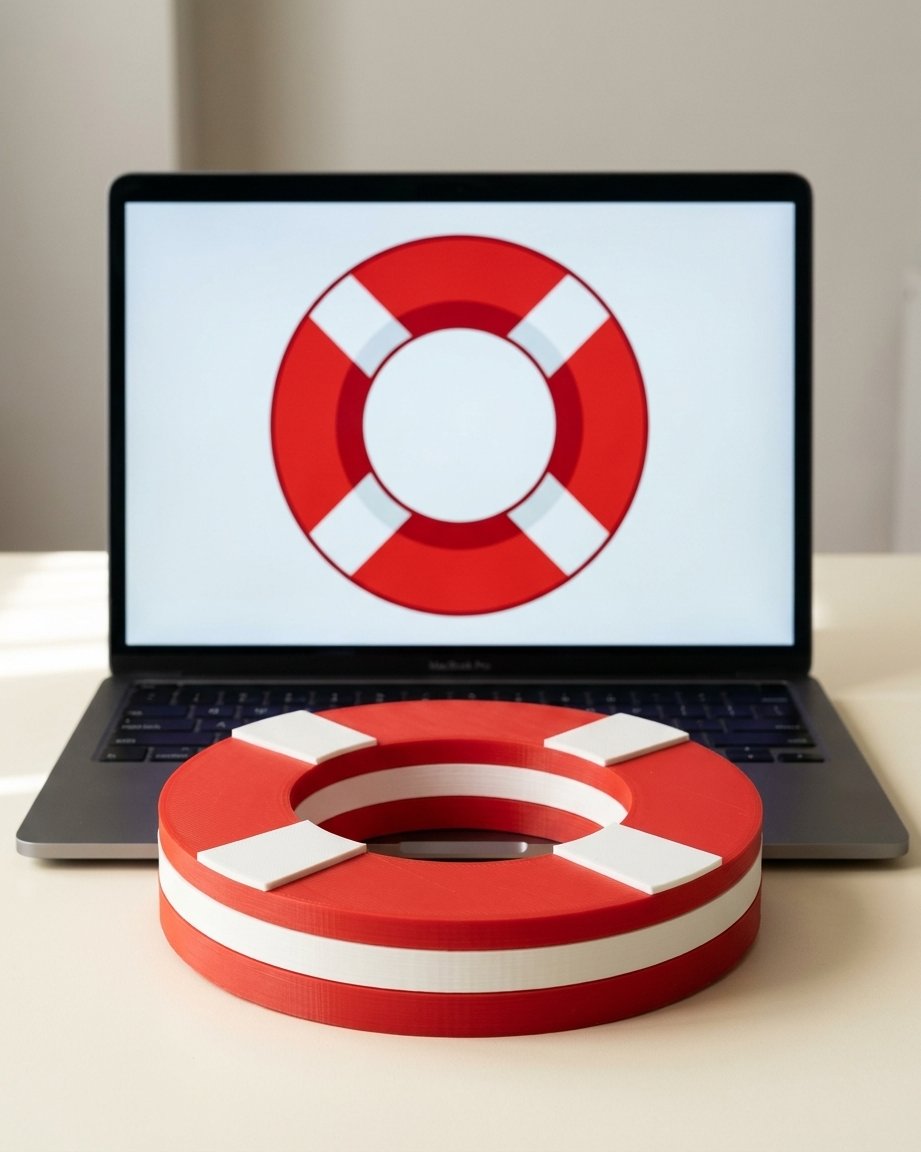
Take a life ring. A stock illustration of one is usually drawn at a three-quarter angle, and in that drawing the ring is a squashed ellipse with a visible inner wall. Extrude that and you get an oval pancake with a strange lip — which is a perfectly faithful model of the drawing, and nothing like the object. Draw the same ring from above — two concentric circles and four bands — and the model comes out exactly right.
| Works beautifully | Fights you |
|---|---|
| Straight top-down view, no perspective | Three-quarter or angled views |
| Flat solid fill colors | Gradients, shadows, highlights |
| Bold shapes, clear boundaries | Hairline details under ~1 mm |
| A handful of distinct colors | Dozens of near-identical shades |
If you're stuck with perspective artwork, the Length field lets you stretch the model's depth independently of its width, and Make it round does it in one click for anything that should have been circular. It rescues the proportions — but it can't invent the parts of the object the perspective hid. Redrawing the top view takes five minutes and is always the better answer.
Step 2: Fill your shapes — don't just outline them
A vector file can describe the same picture two ways: as filled shapes (a red disc, four white bands) or as line work (outlines with no fill). Both can be imported, but they're not equal.
Filled shapes are the exact path. Each shape comes in mathematically perfect, keeps its own color, and scales to any size without tracing. Line work has to be reconstructed: the app treats your lines as ink and works out which enclosed areas they create, the way Live Paint does. That works well, but it depends on your lines actually meeting — a path that stops a fraction short of the outline it should touch leaves a gap, and a gap lets a region leak away.
So in Illustrator (or Inkscape, or Affinity): use Live Paint or the Shape Builder to fill your areas, then Object › Expand, and save as plain SVG. You get exact shapes and your colors arrive as the zone colors. Don't bother exporting .ai files, incidentally — SVG is the right interchange format here, and it's not where the quality is lost.
Step 3: Give every color its own height
Now the fun part. Drop the SVG into the Depth Studio and every color area becomes a clickable zone. Click one and set its height; double-click to select every zone of that color at once. Three presets get you 90% of the way in one click:
- By color — each color group steps up by a fixed amount. The default, and usually right.
- Stacked — shapes nested inside other shapes get taller, so an eye on a face sits proud automatically.
- Flat — everything the same height, for a single-thickness plaque you'll color by filament alone.
Some heights that work in practice:
| Piece | Base | Step per color | Total |
|---|---|---|---|
| Fridge magnet | 2.5–3 mm | 0.6–0.8 mm | 4–6 mm |
| Cake topper | 2–2.5 mm | 0.6 mm | 3–5 mm |
| Coaster / trivet | 4–5 mm | 0.8–1 mm | 6–8 mm |
| Wall sign | 3–4 mm | 1–1.5 mm | 6–10 mm |
The one setting that matters most: snap to layer height. A color change can only happen between layers. Ask for a 3.7 mm step on a 0.2 mm layer height and the printer has to round it anyway — mid-layer, in the wrong place, and you get a smudged band where two colors share a layer. Leave Snap to layer height on (0.2 mm by default, match it to whatever you actually slice at) and every height lands exactly on a layer boundary. It's one checkbox and it's the difference between crisp and almost-crisp.
Step 4: Lift, sink and shape the edges
Height alone gets you a stepped relief. Three more controls turn it into something that looks designed:
- Lift raises a zone's whole body, so it floats above the base instead of growing from it — think a banner standing off a plaque. The model stays one piece: a lifted zone always has to keep real contact with a neighbor, and the app simply won't let you raise it past the point where it would break free.
- Sink is the same control going down. Add a backing plate and a zone can drop into it, giving you a proper inlay look where the color sits flush in a recess.
- Edge profile puts a chamfer or a rounded edge on a zone's top rim. It's built as micro-layers of your layer height — exactly what the printer would do anyway — and it takes the "stack of cardboard" look off the piece.
Use lift sparingly: whatever is underneath a raised zone is a bridge the slicer has to cross. The app measures that span and warns you when it gets wide, which is your cue to lower it or add a backing plate.
Step 5: Add the bit that makes it a product
A flat colored shape is nice. A flat colored shape with a magnet in the back is a thing people buy. Two switches in the Extras panel:
- Magnet pocket — a round recess in the underside, cut through every part it touches. Set it to your magnets (8 mm discs are the standard; the default leaves a little clearance for a snug press fit). Pause the print at the top of the pocket, drop the magnet in, resume, and it's sealed inside forever.
- Hanging eye — a ring welded to the edge of the model with a hole through it, for keyrings, ornaments and gift tags. Click "Pick the spot" and place it where the silhouette is strongest.
Step 6: Export — 3MF or STL?
Export both if you like; they're for different jobs.
| 3MF | STL | |
|---|---|---|
| Colors | Kept — one part per color, with its color attached | None |
| In the slicer | One object made of parts; assign a filament to each | One merged body |
| Use it for | Multicolor printing | Single-color prints, sharing, other tools |
Import the 3MF as a single object with parts — not as separate objects — and everything stays aligned exactly as you designed it. Then click each part and pick its filament.
Printing it: AMS optional
Here's the part people don't expect: you don't need a multi-material printer. Because every color occupies its own height band, the printer only needs to change filament at a few specific layers.
- With an AMS or MMU: assign a filament per part and print. The unit handles the swaps; you pay for it in purge waste, which for two or three colors can easily exceed the model itself.
- Single extruder: add a filament change (M600, or your slicer's "add pause / change filament at layer" tool) at each height where a new color starts. The printer stops, you swap the spool, you resume. Two colors means one swap. Zero waste, zero extra hardware.
This is also why snapping heights to your layer height matters so much: your color boundaries are the layer numbers you'll type into that dialog.
Settings that actually matter
- Layer height 0.2 mm — and set the app's snap to the same value.
- 4–5 top layers. Flat tops are the whole design; don't let them go translucent.
- 3 walls. Crisp vertical sides, and enough shell for a magnet pocket.
- 15–20% infill. These are small, flat, and stronger than they need to be.
- No supports unless you've lifted a zone.
- Brim for anything narrow — thin flat parts love to peel at a corner.
For the deeper printing detail, our print settings guide covers walls, materials and adhesion in more depth — most of it applies directly.
Where the artwork comes from
You don't have to be an illustrator. Flat top-view shapes are the easiest thing there is to draw, and you can also start from something you already have: an existing 2.5 D STL reads straight back in as editable color layers, so you can recolor and re-height a model you printed months ago. And if you've been making cutters, you already own a library of clean silhouettes — the same shape that cuts a cookie makes an excellent magnet. It works the other way too: any depth model can hand its outline straight to the cutter editor.
If you'd like to sell them, flat multicolor pieces photograph beautifully and ship for the price of a stamp — our Etsy guide applies almost word for word.
The whole trick is that a flat drawing already is a multicolor model — it just doesn't know how tall anything is yet. Draw the top view, fill your shapes, give each color a height on a layer boundary, and export the 3MF. Open the app and drop an SVG into the Depth Studio to see it happen.
Frequently asked questions
Do I need a multi-material printer or an AMS for multicolor prints?
No. A 2.5D layered model is the one kind of multicolor print that works beautifully on a single-extruder printer, because every color sits at its own height and the color changes happen at flat layer boundaries. You simply insert a filament change at those layers in your slicer and swap the spool by hand when the printer pauses. An AMS or multi-material unit just automates the same swaps, and it also means you pay for purge waste, so for a two or three color piece the manual route is often the cleaner choice.
Should I export 3MF or STL for a multicolor model?
Export 3MF if you want the colors. A 3MF keeps every color as its own part inside one object with its display color attached, so slicers like Bambu Studio, Orca and PrusaSlicer import it already split up and you only have to assign a filament per part. An STL has no color information at all and merges everything into one body, which is what you want when you are printing the piece in a single color or sending it to someone whose workflow expects STL.
Why does my model look flat and stretched compared to my drawing?
Because the drawing is in perspective. A 2.5D model extrudes the shapes straight up from the drawing, so if your artwork shows an object at a three-quarter angle, its outline on paper is a squashed ellipse and the model becomes an oval pancake. Draw the top view instead: what the printer would see from directly above, with no perspective and no visible side faces. If you already have perspective artwork, the Length field and the Make it round button stretch the model back to sensible proportions, but the real fix is to redraw it flat.
How thick should each color layer be?
Give the base color enough body to be rigid, then step each color up by a small, consistent amount. Around 2 to 3 mm for the base and 0.6 to 1 mm per step works for magnets, coasters and toppers, and stays under 10 mm total so the print stays quick. The important part is that every height is a multiple of your layer height, because a color change can only ever happen on a layer boundary. Turn on Snap to layer height and the app rounds every value for you.
Can I use a photo or a JPG instead of vector artwork?
Vector is the right input for this. An SVG carries mathematically exact shapes with a fill color each, so the zones come in perfectly and scale to any size without tracing. A photo has to be traced and quantized into color regions first, which softens every edge and invents boundaries where the photo has shading. If all you have is a raster image, redraw it as flat filled shapes first, or start from an existing 2.5D STL, which the app can also read back into editable color layers.
Give your flat art some height
Drop in an SVG, set a height per color, and export a multicolor 3MF your slicer already understands.
Open the app →