Dialed In: The 3D Printing Settings That Make Cookie Cutters Actually Work
A perfect model can still print into a disappointing cutter. These are the slicer settings that turn a good STL into a crisp, durable cutter you'll reach for again and again.
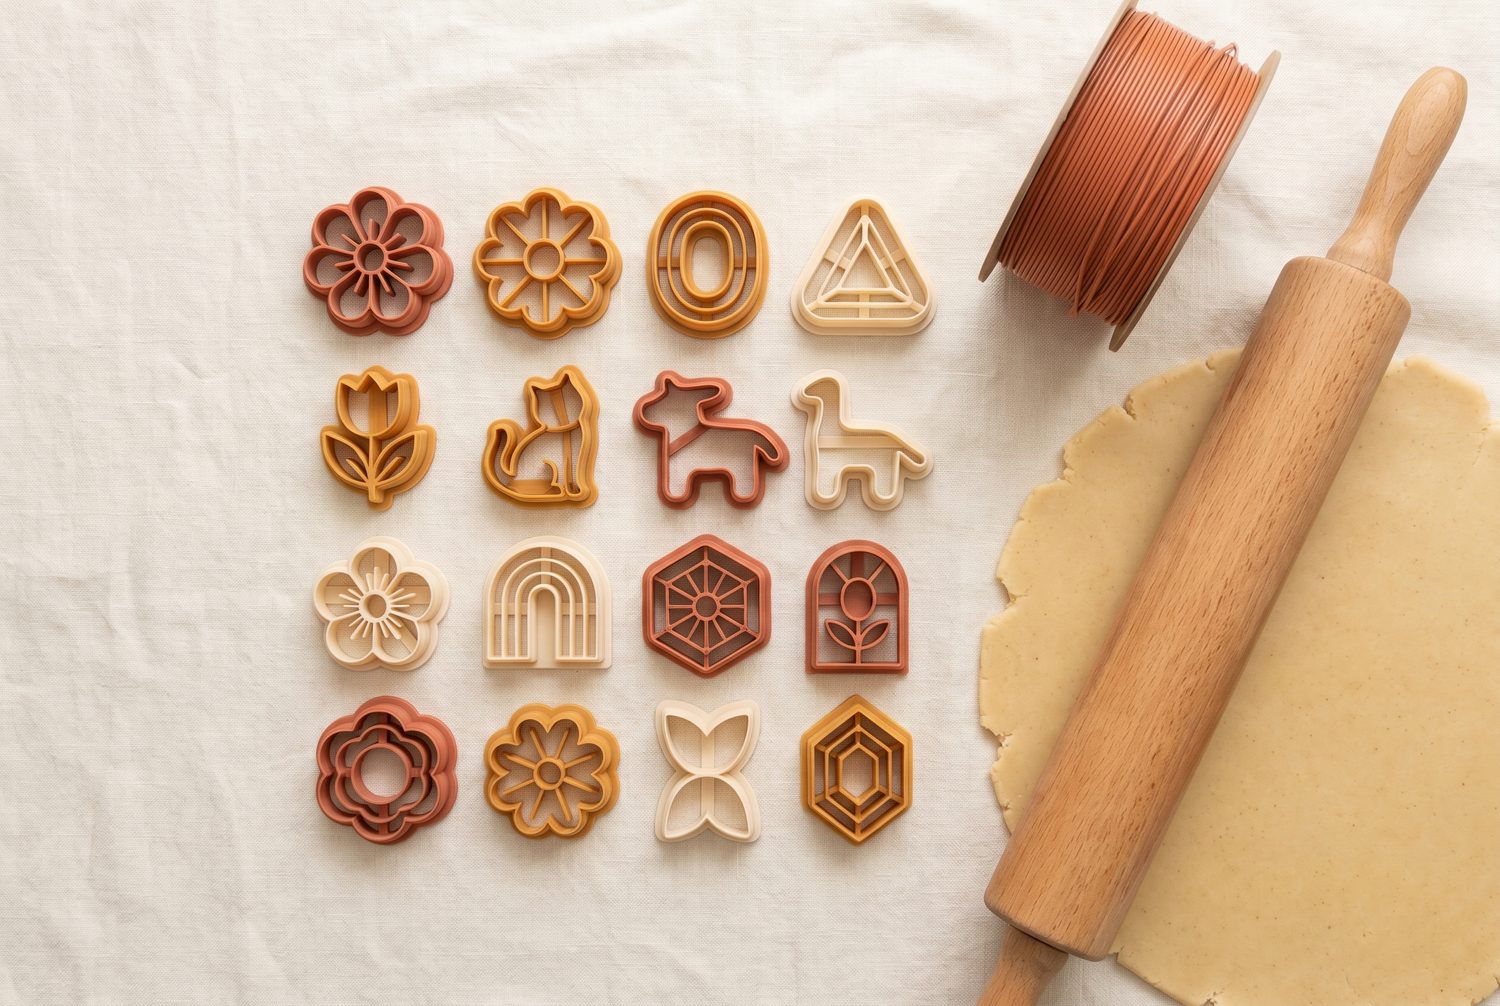
Cookie cutters are deceptively demanding prints. They're tall and thin, they need a sharp edge, and they touch food. Get the settings right and they pop off the bed clean and last for years. Get them wrong and you get a wobbly edge that crushes dough instead of cutting it. Here's what actually moves the needle.
Layer height: go finer than you think
Layer height sets how smooth your cutting edge is. For cutters, a 0.12–0.16 mm layer height is the sweet spot. The finer layers give the rim a smoother profile that slides through dough cleanly and leaves a crisper edge on the cookie. The classic 0.2 mm will still work, but you'll feel the difference on detailed shapes.
Because cutters are small, the extra print time is modest — often only ten or fifteen minutes — and the payoff in edge quality is well worth it.
Walls are everything (infill is not)
This is the setting people get wrong most often. A cutter is essentially all wall, so your perimeter / wall count does the real work, not infill.
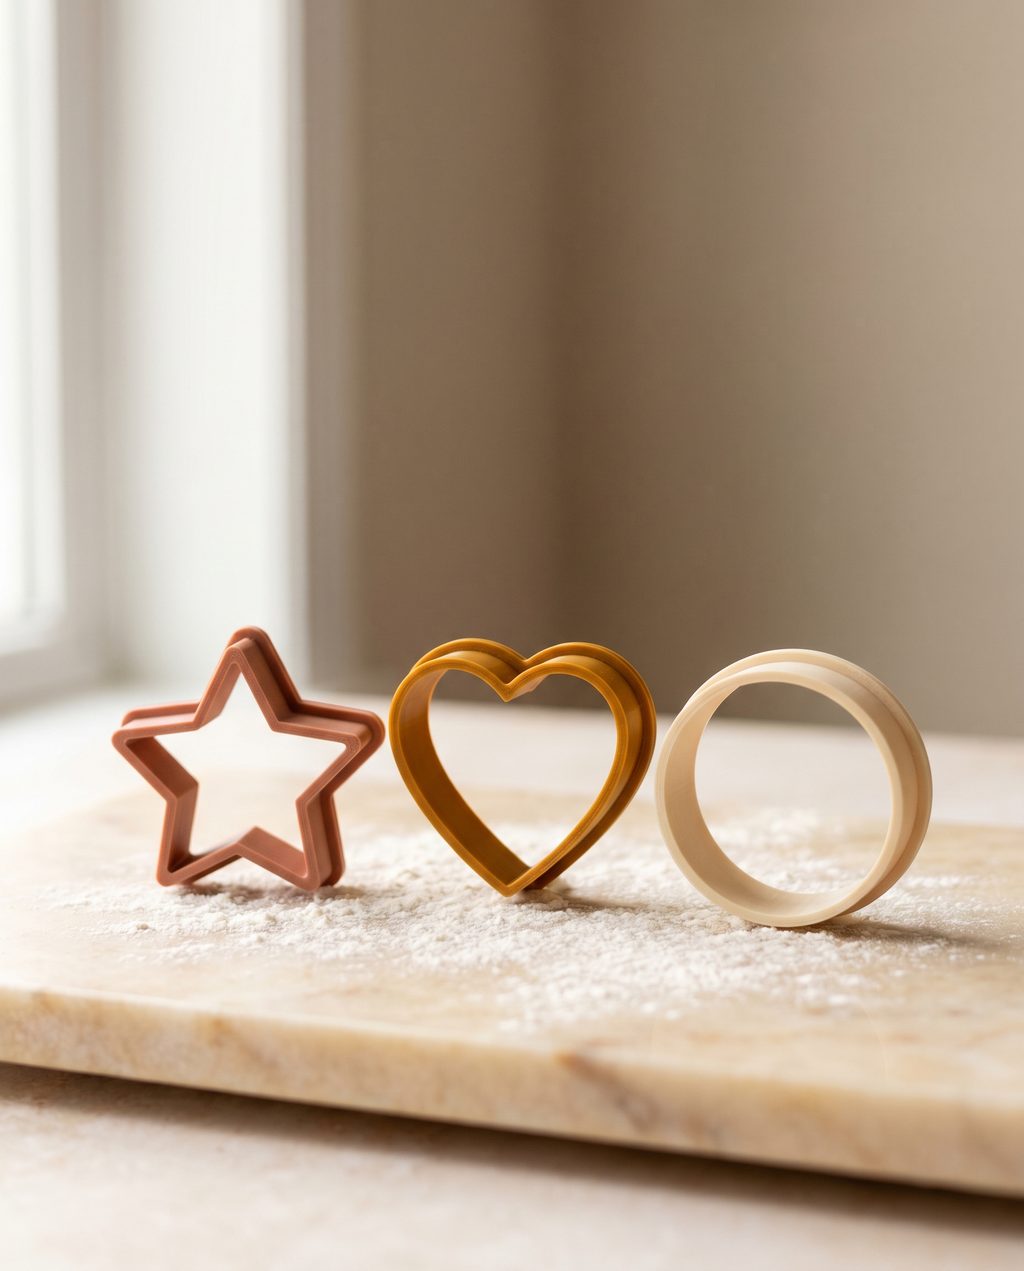
- Design the cutting edge thin — around 0.6–0.8 mm — so it bites instead of squashing. In DoughPrint this is the top-layer wall thickness.
- Let walls fill the rim. Set 2–3 perimeters and a line width that matches your wall, so the slicer prints the edge as solid loops with no thin gap down the middle.
- Infill can be 0%. The base plate and relief are thin solid features already; you rarely need internal fill.
If your cutting edge looks hollow or stringy in the slicer preview, your wall is thinner than your line width. Thicken the wall or lower the line width until it prints solid.
Material: PLA is fine, with one caveat
PLA is the easiest and most popular choice — cheap, rigid and dimensionally accurate, which keeps your edge sharp. PETG is a great step up if you want more durability and a higher tolerance for warm water, at the cost of slightly fussier printing.
About food safety. Cookie cutters touch food only briefly, but the layer lines in any FDM print can trap residue. Treat cutters as single-session tools: use them, then wash gently in cool water and dry right away. Avoid hot water (it can soften PLA) and the dishwasher. For frequent use, a food-safe coating or a food-grade material is worth the extra effort.
Orientation and supports
Always print a cutter flat on the bed, cutting edge pointing up, exactly as the model is oriented on export. This puts the layer lines horizontally around the rim — the strongest arrangement for cutting — and means you need no supports at all. The base plate gives you a generous first layer for adhesion.
First layer and adhesion
Because the contact patch is thin, first-layer adhesion matters. Slow the first layer to ~20 mm/s, make sure your bed is level and clean, and a light brim (5–8 mm) is cheap insurance against a tall thin wall peeling up mid-print. A well-tuned first layer is the difference between a clean release and a spaghetti bowl.
A starting profile you can copy
Every printer is different, but this is a reliable baseline to tweak from:
- Layer height: 0.12–0.16 mm
- Walls / perimeters: 2–3
- Top/bottom layers: 4–5 (for a solid base plate)
- Infill: 0–10%
- First layer speed: ~20 mm/s · Brim: 5–8 mm
- Material: PLA or PETG · Supports: none
Print one test cutter, cut a single cookie, and adjust the cutting-edge thickness up or down by 0.1 mm. One iteration usually nails it.
Dialing in a printer is mostly about walls, a fine layer height and a calm first layer. Once your profile is set, every cutter you make in the editor prints beautifully with no further fuss.
Ready to print one?
Design a cutter, export the watertight STL and run it with the profile above.
Open the app →