From Drawing to Dough: Turn Any Image into a 3D-Printed Cookie Cutter
You don't need CAD skills to make a custom cutter. With the right image and a few smart choices, you can go from a simple sketch to a printable cutter in minutes.
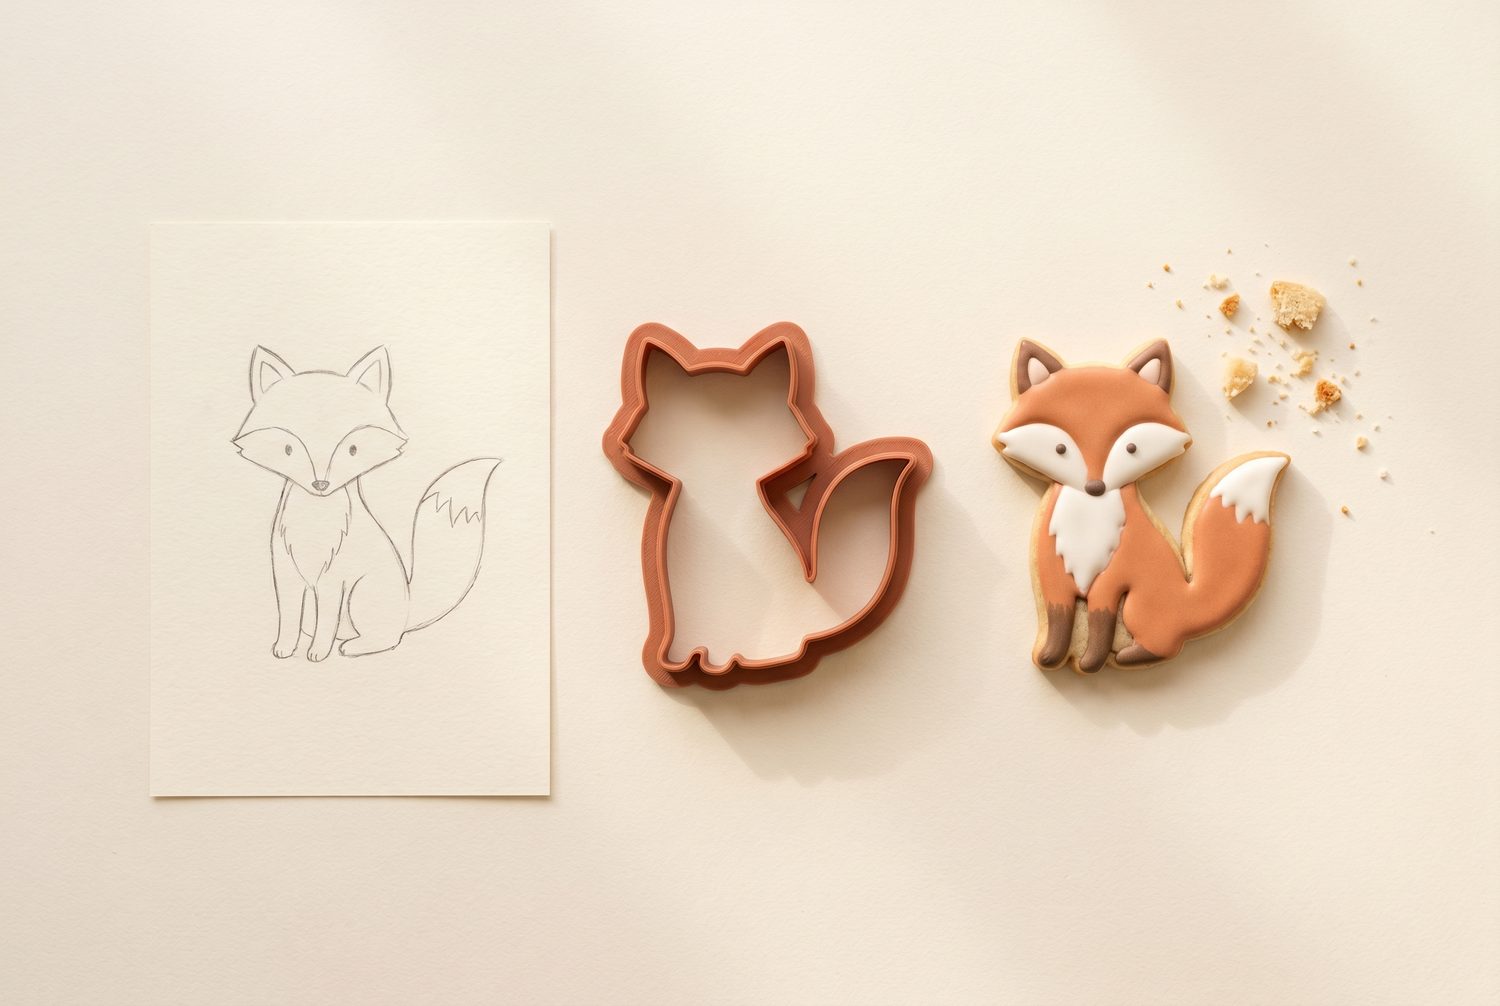
Every great custom cookie starts the same way: with a single picture. A child's drawing, a brand logo, a leaf from the garden, a shape you sketched on a napkin. The job of a cutter is to translate that outline into the real world — cutting clean dough on the outside while pressing a little detail into the surface. This guide walks through how to make that translation reliably.
1. Start with an image that traces well
The single biggest factor in a good cutter is the image you feed it. The tracer is looking for clear, closed outlines — so the friendlier the picture, the cleaner the result.
- Favor bold silhouettes over photographs. A confident black outline on a white background traces almost perfectly.
- Keep interior detail minimal. A few defining lines (a wing, an eye, a collar) read beautifully. Dozens of tiny strokes turn to mush at cookie scale.
- Watch the thin bits. Antlers, tails and whiskers that are only a couple of millimeters wide are fragile both to print and to cut. Thicken them or let them merge.
If all you have is a busy coloring-page or a detailed photo, don't worry — that's exactly what the next step is for.
2. Let AI simplify the busy stuff
Instead of redrawing by hand, hand the image to the built-in AI step. It redraws your picture as a clean, bold line silhouette: thick outlines, a handful of meaningful interior lines, no shading or gradients. You can nudge it with a short instruction — "keep the cape, drop the stripes" — and then choose whether to build from the original or the simplified version.
Rule of thumb: if you can recognize the shape as a solid black silhouette from across the room, it will make a great cutter.
3. Understand the three layers
A DoughPrint cutter isn't a single wall — it's three layers working together. Knowing what each one does is the key to a cutter that both cuts and embosses.
Base plate (draagvlak) — a thin solid floor that connects everything into one rigid piece and gives you something to push on.
Relief (reliëf) — the raised interior detail lines that press a design into the dough without cutting through it.
Cutting edge (snijrand) — the tall, thin outer rim that actually slices the dough.
In the live 3D editor you set the height and wall thickness of each layer independently, and the model re-extrudes instantly so you can feel the trade-offs as you slide.
4. Size it for real cookies
Set the overall size on the longest edge. Somewhere between 70 and 90 mm is a comfortable range for most shapes — big enough to hold detail, small enough to bake evenly. Switch between millimeters and inches if that's how you think. Remember that as you shrink a design, thin features shrink too; if details start to crowd, scale up a little or simplify further.
5. Keep the cut dough in one piece
This is the rule that separates a cutter that works from one that just looks good. When the blade comes down, the dough inside the outline has to lift out as a single connected piece. If your design has a fully enclosed interior loop — the inside of a letter "O", a closed handle, a ring — that island of dough will fall away on its own.
Two ways to handle it: let those loops emboss (live in the relief layer) instead of cutting, or add connectors — small bridges that tie separate regions together so everything releases as one. The editor can place these automatically or you can draw them by hand.
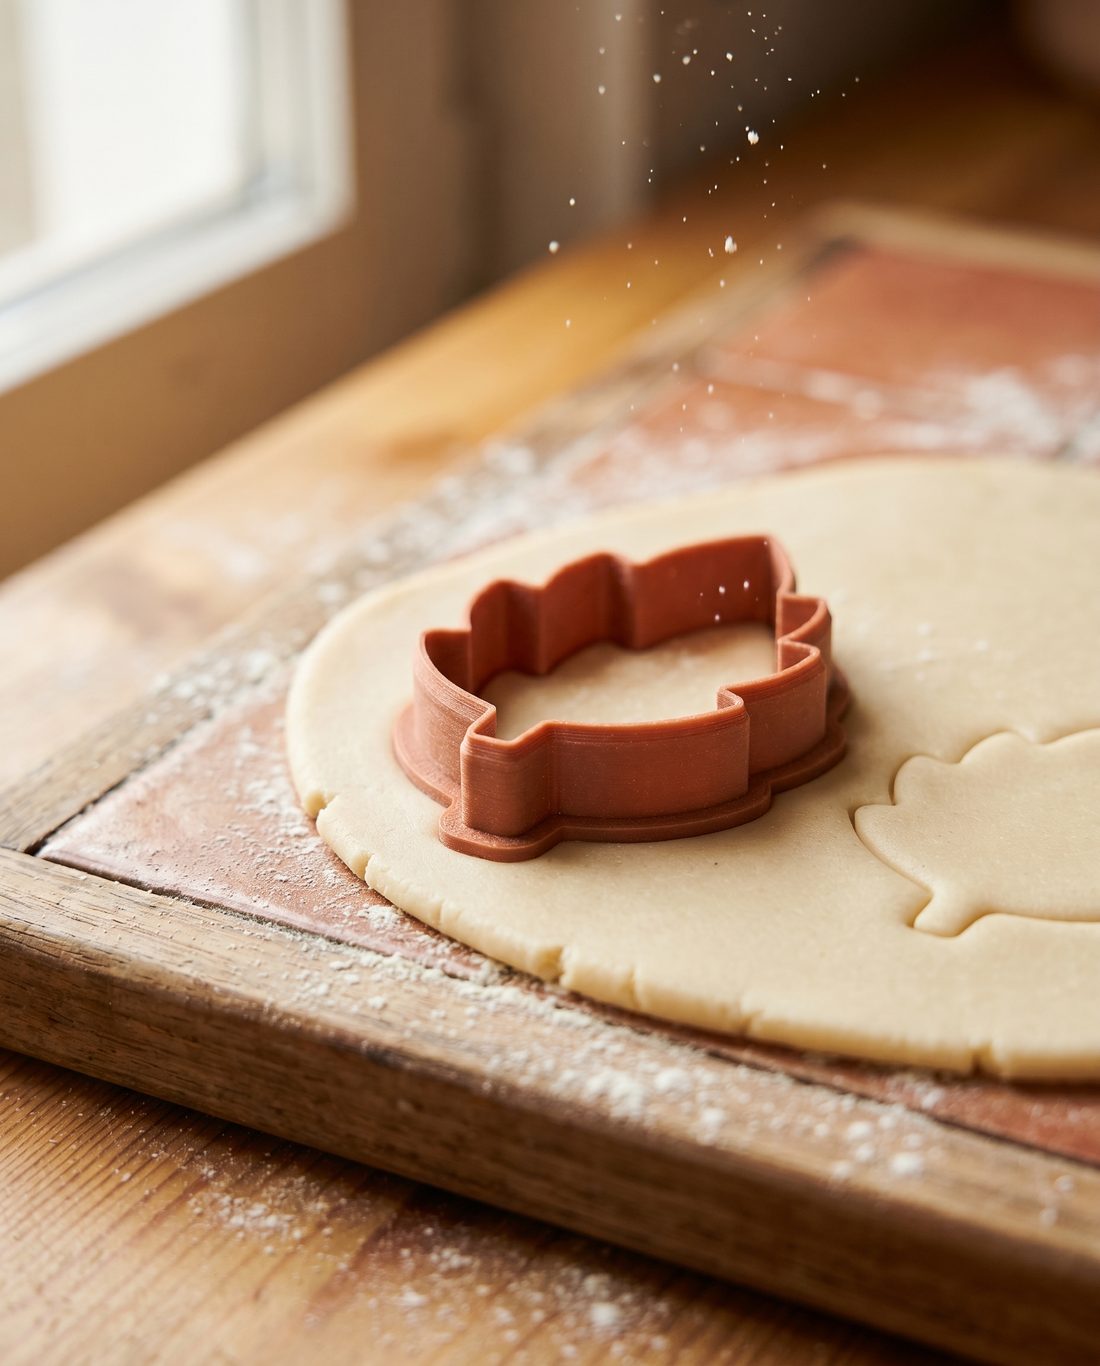
6. Export, print, bake
When the shape looks right, export the watertight STL and slice it like any other print. (Our companion guide on print settings covers layer heights, walls and food safety in detail.) Print it flat on the bed, no supports, and you'll have a finished cutter in under an hour.
That's the whole loop: pick a clean image → simplify → shape three layers → keep the dough connected → export. Once it clicks, you'll be turning every doodle into a cutter.
Got a drawing in mind?
Open the editor, drop in an image and watch it become a printable cutter.
Open the app →