 DoughPrint
How to Design a Themed Cookie Cutter Set That Actually Looks Like a Collection
A single cutter is a tool. A matching set is a gift, a product, a party in a box. Here's how to design shapes that clearly belong together — and print the whole family at once.
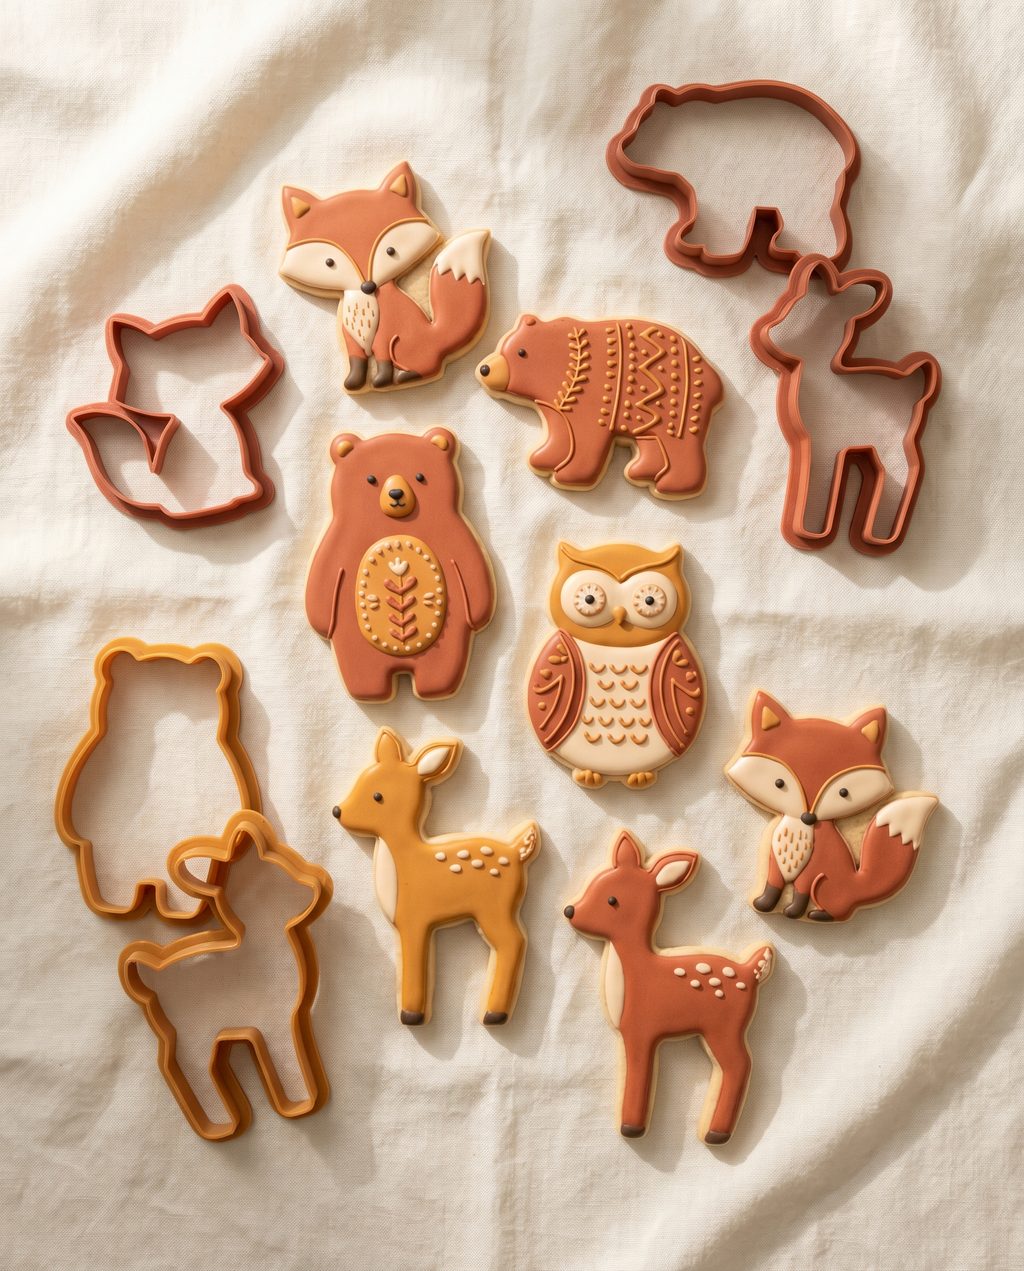
One heart cutter is useful. A shelf of ten unrelated shapes is a junk drawer. But six cutters that share a theme, a size logic and a decorative language? That reads as a collection — the kind of thing people gift, sell and come back to. The good news is that "looks like a set" isn't luck. It comes from a handful of decisions you make on purpose before you print anything.
1. Pick a theme with a natural cast of characters
The strongest sets have an obvious "roster" — a small group of shapes everyone can name without you explaining them. Woodland animals (fox, bear, deer, owl). A garden (flower, leaf, bee, sun). A birthday (cake, balloon, star, number). The theme does the marketing for you.
- Aim for 4–8 shapes. Fewer feels thin; more gets hard to keep cohesive and slow to print. Six is a sweet spot.
- Mix silhouettes. A great set has variety in outline — something round, something tall, something wide. If every shape is the same blobby oval, the set looks monotonous on the tray.
- Include one "hero" and a few supporting shapes. The hero is the detailed centerpiece; the supporting shapes are simpler and faster to decorate.
2. Give every shape the same visual accent
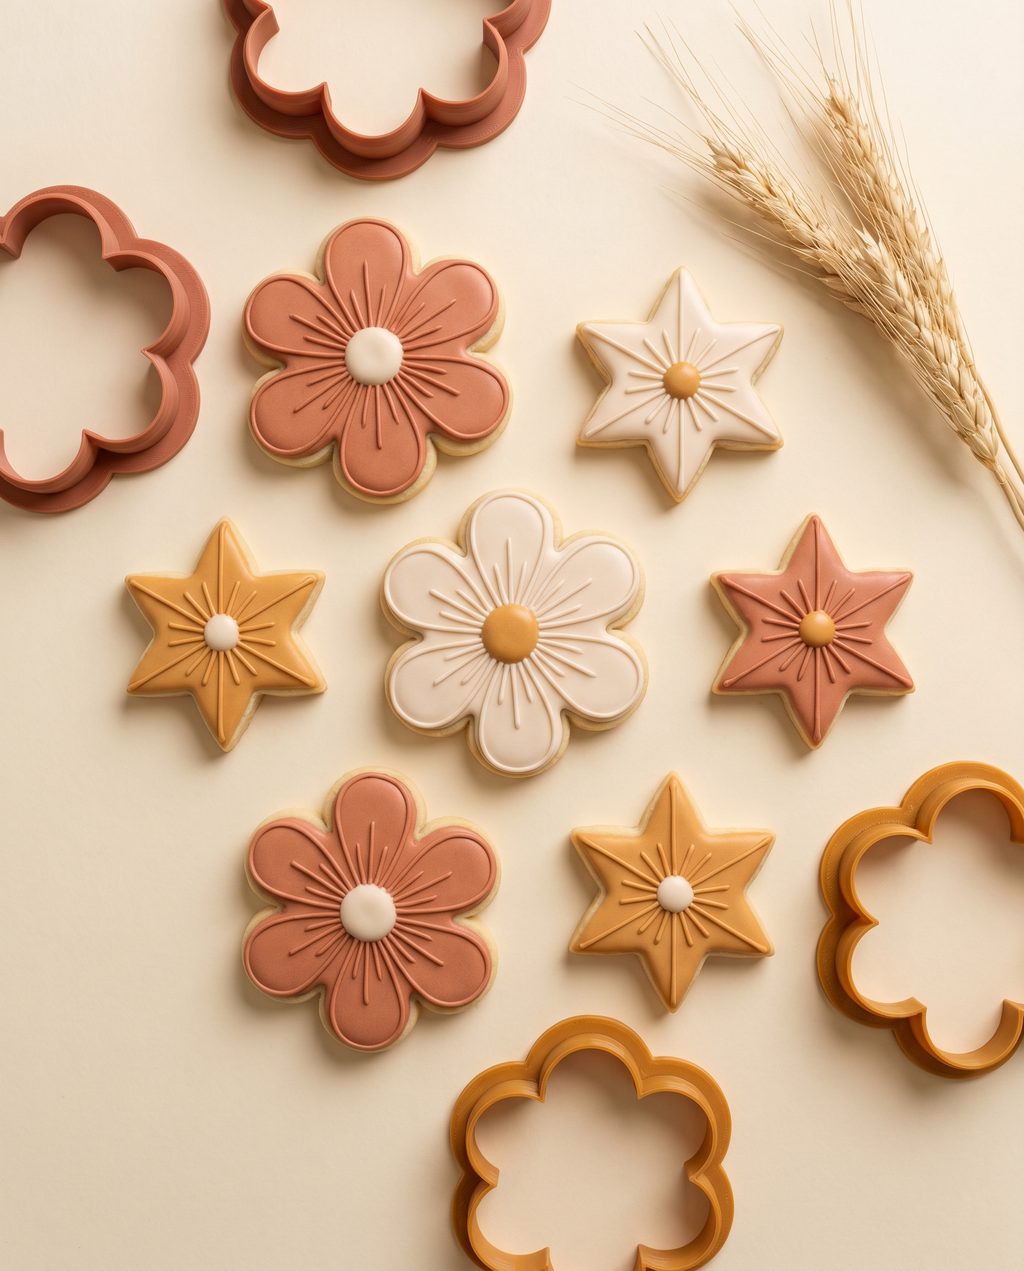
This is the trick that separates a real collection from a pile of cutters that happen to share a folder. Pick one repeating design cue and apply it to every member of the set. Your eye reads that repetition as "these belong together," even when the shapes are wildly different.
A shared line style — e.g. every animal gets the same simple dotted border or folk-art flourish pressed into its body.
A shared level of detail — either everything is a clean silhouette, or everything carries a little interior pattern. Don't mix one photo-realistic shape with five minimalist ones.
A shared palette — decide the icing colors up front (terracotta, amber, cream) so the finished cookies photograph as one family.
3. Lock your sizing before you design the shapes
Nothing kills the "set" feeling faster than one giant cookie next to a tiny one. Because you set the overall size on the longest edge of each shape, a tall deer and a wide bear will bake to very different footprints if you give them the same number. Decide a size budget first and design into it:
- Match visual weight, not raw dimensions. Let tall shapes run a little taller and wide shapes a little wider so they feel like the same "size" on the plate — roughly the same area, not the same height.
- Keep everything in one comfortable band — most sets live happily between 60 and 90 mm on the longest edge. That's big enough to hold detail and small enough to bake evenly across the batch.
- Sanity-check the smallest features. As you shrink a shape to fit the set, its thin bits (antlers, stems, tails) shrink too. If they drop below a couple of millimeters, thicken them or let them merge before they become fragile.
4. Use imprint detail so the shapes carry the theme
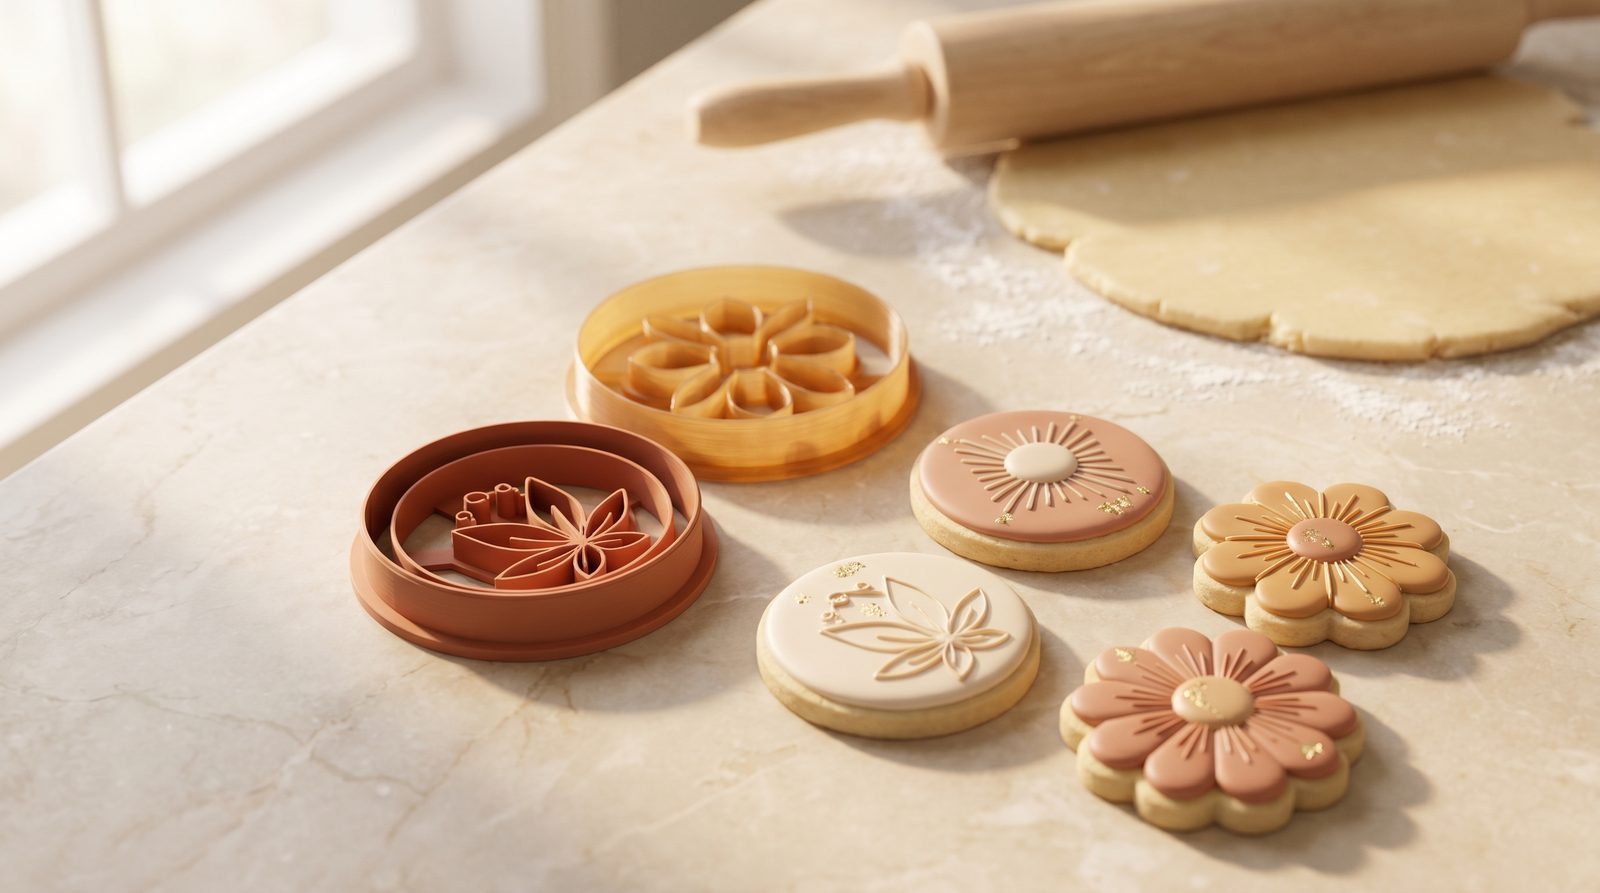
A cohesive set does a lot of its talking through relief — the raised interior lines that press a design into the dough without cutting through it. This is where the shared "accent" from step 2 actually lives. Instead of hand-piping the same little motif onto forty cookies, you press it in and it's identical every time.
You can go further and split the set into two tools per shape: a cutter that slices the outline and a matching stamp that presses in the detail. It's the same workflow whether you're building an outline cutter, an imprint or a full cutter-plus-stamp — and the three-layer construction keeps the outside cutting while the inside only embosses.
5. Keep every cut releasing in one piece
This rule matters even more for a set, because you'll be cutting the whole batch back to back and you don't want one shape in the collection that constantly jams. Every design has to lift out of the cutter as a single connected piece. Fully enclosed loops — the gap in a pretzel, the hole in a donut, the inside of an "O" — will drop away on their own.
Two fixes: let those enclosed shapes live in the relief layer so they emboss instead of cutting through, or add small connectors that bridge separate regions so the dough releases as one. The editor can place these automatically, and it's worth checking each shape in the set — a collection is only as good as its most annoying member.
6. Batch the whole set and print it as a family
Once the shapes are done, you don't have to export them one at a time. Add each design to your library, then bundle the set so the matching cutters and stamps download together, ready to slice. A few tips for printing a set:
- Print in one filament color per set so the physical cutters look like a collection too — especially if you're selling or gifting them.
- Arrange multiple cutters on the bed at once. They're thin and flat, so a six-piece set often prints in a single job.
- Keep the walls and heights identical across the set. Reusing the same layer heights and wall thickness means they all cut with the same feel in the hand.
For the exact layer heights, wall counts and food-safety notes, our companion guide on print settings has you covered. And if your theme is names or words, the name-cutter guide shows how to batch a whole list at once.
A set is just a bunch of good cutters with a plan holding them together: one theme → one shared accent → one size band → one connected cut → one print run. Nail those five and a handful of shapes stops being a drawer full of tools and starts being a collection worth showing off.
Frequently asked questions
How many cutters should a themed set have?
Aim for 4–8 shapes; six is a sweet spot. Fewer feels thin, more gets hard to keep cohesive and slow to print. Include one detailed hero shape and a few simpler supporting shapes.
How do I make different shapes look like one set?
Pick one repeating design cue and apply it to every member: a shared line style pressed into each shape, a consistent level of detail, and one icing palette decided up front. Your eye reads that repetition as belonging together, even across wildly different silhouettes.
Should every cutter in a set be the same size?
Match visual weight, not raw dimensions — roughly the same area, letting tall shapes run taller and wide shapes wider. Keep the whole set in one comfortable band, typically 60–90 mm on the longest edge.
Can I print a whole set in one go?
Yes. Cutters are thin and flat, so a six-piece set often prints in a single bed job. Use one filament color per set and keep the walls and heights identical so every cutter cuts with the same feel.
Got a theme in mind?
Open the editor, design your first shape and build the whole matching set around it.
Open the app →