 DoughPrint
Surviving a 0.4 mm Tip: How to Print a Cutting Edge That Actually Cuts
The difference between a cutter that slices dough and one that mashes it is less than half a millimeter of plastic. Here's how to design a razor-thin blade — and the slicer settings that get it off the printer in one piece.
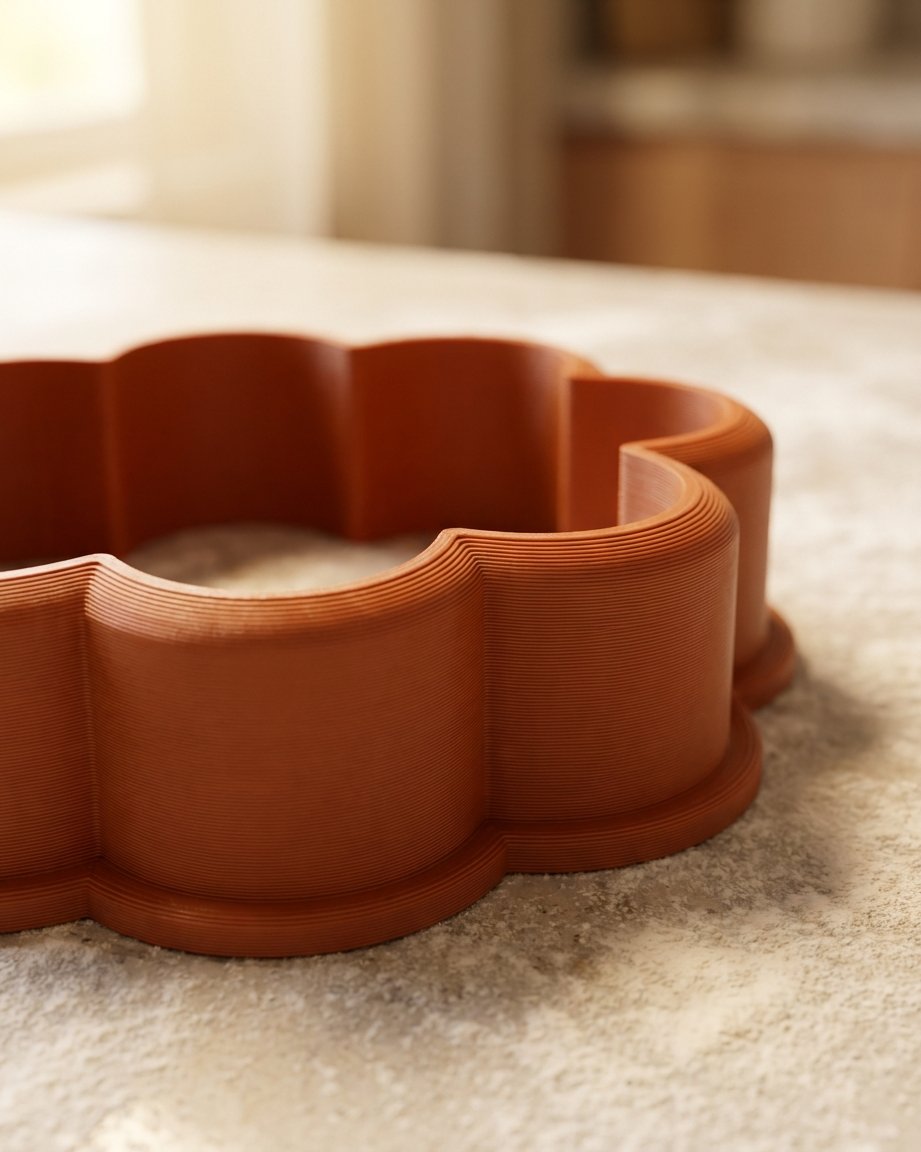
A cookie cutter has exactly one job, and it happens in the top half-millimeter of the model. The rest — the base plate, the relief lines, the side wall — is support crew. If the tip of the cutting wall is thick and blunt, it wedges through dough and drags the shape out of true. If it's thin and clean, it parts the dough like a knife and the cookie keeps every detail you drew.
The catch: a thin tip is also the hardest part of the whole print. It's one or two extrusions wide, it cools in seconds, and a slicer with default settings will happily thicken it, skip it or turn it into stringy lace. This guide covers both halves of the problem — how to shape the blade in the editor, and how to slice it so the sharpness survives.
Why the edge is the whole game
A straight cutting wall of 0.6–0.8 mm — the standard recipe from our general print settings guide — already cuts respectably. But watch what happens at the dough level: a flat-bottomed wall has to push dough aside across its full width before it reaches the mat. Soft doughs forgive this. Firm sugar-cookie dough, chilled shortbread and fondant do not — they tear at corners and round off fine details.
Professional metal cutters solve this with a sharpened bevel, and that's exactly what a printed cutter can have too. The trick is doing it without making the model unprintable or distorting the shape of the cookie.
Two blade profiles, one rule: the inside stays straight
The editor has two blade profiles under Sharp cutting edge, and they share one crucial property: only the outside of the wall tapers. The inside face stays perfectly vertical, so the cut cookie keeps the exact shape you drew — the bevel never eats into the design.
- Sharp cutting edge — a smooth rounded shoulder rolls the full wall thickness down to a flat tip of about 0.4 mm. Tip width and chamfer height are both adjustable. This is the profile for everyday cookie dough: sharp where it touches the dough, full-thickness lower down where the strength lives.
- Fondant taper — a knife-style blade that tapers over the full height of the wall and flares out at the foot for strength. Made for fondant and thin, delicate doughs where you want zero wedging at any depth.
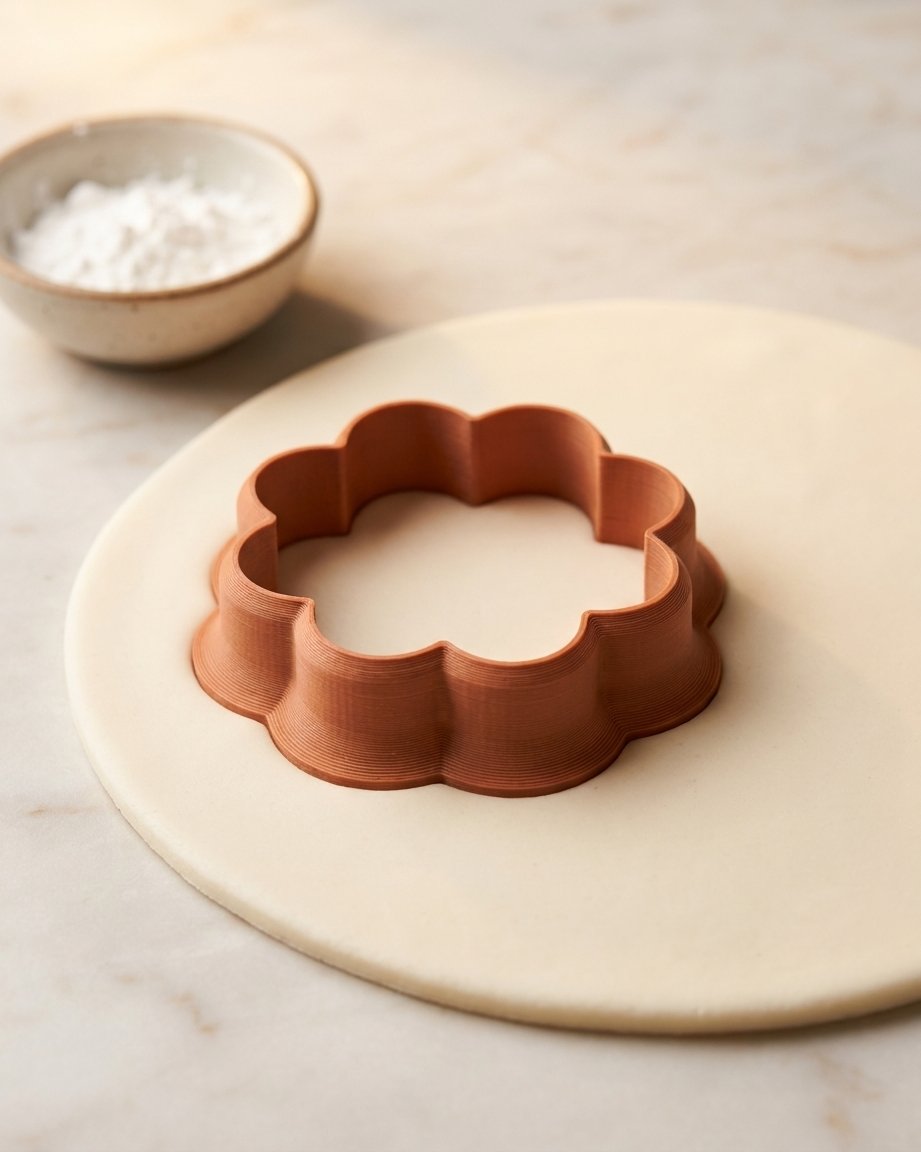
Both profiles are generated as part of the watertight STL — no modeling, no boolean surgery, just a toggle and two sliders. Which brings us to the real challenge: printing them.
The slicer profile that survives a 0.4 mm tip
A 0.4 mm tip printed with a 0.4 mm nozzle is a single extrusion balanced on top of a tapering wall. These six settings decide whether it comes out crisp or crumbles:
| Setting | Value | Why it matters |
|---|---|---|
| Layer height | 0.12–0.16 mm | Finer layers turn the shoulder's curve into a smooth ramp instead of a staircase — the taper is only as clean as the layers that build it. |
| Thin walls / Arachne | On | Classic slicing engines skip walls thinner than the nozzle; variable-width (Arachne) or "detect thin walls" fills the tip with one adaptive extrusion instead of leaving a gap. |
| Wall loops | 3 | The lower wall prints as solid loops for strength; near the tip the slicer drops to 1–2 extrusions on its own as the taper narrows. |
| Outer wall speed | ≤ 30 mm/s | A slow outer wall keeps the blade dimensionally accurate — at 60 mm/s a single-extrusion tip wanders and ripples. |
| Part cooling | 100% | Layers this small have seconds of layer time; aggressive cooling stops the tip from staying molten and sagging while the next layer lands. |
| Supports / brim | Off / optional | The flat base plate is its own adhesion surface. A 5 mm brim is cheap insurance on tall cutters, but supports have no business anywhere near a blade. |
Before you print, scrub through the sliced preview to the top layers. If the blade shows gaps or dashes, don't reprint blind and hope — go back to the editor, raise the tip width from 0.4 to 0.6 mm, and export again. Ten seconds of re-export beats an hour of failed print.
Print at 100% — never rescale in the slicer
This one deserves its own heading because it undoes everything else. The blade geometry is computed in real millimeters: the tip is 0.4 mm because your nozzle is 0.4 mm. Scale the model to 90% in the slicer and the tip becomes 0.36 mm — suddenly unprintable. Scale it to 120% and your sharp edge is a blunt 0.48 mm ledge.
If you want a bigger or smaller cutter, change the size in the editor, where the walls stay at their set thickness while the shape scales around them. That's also why the exported file is ready to slice as-is: the model already sits flat, blade up, at true size.
Sharper cuts in the kitchen
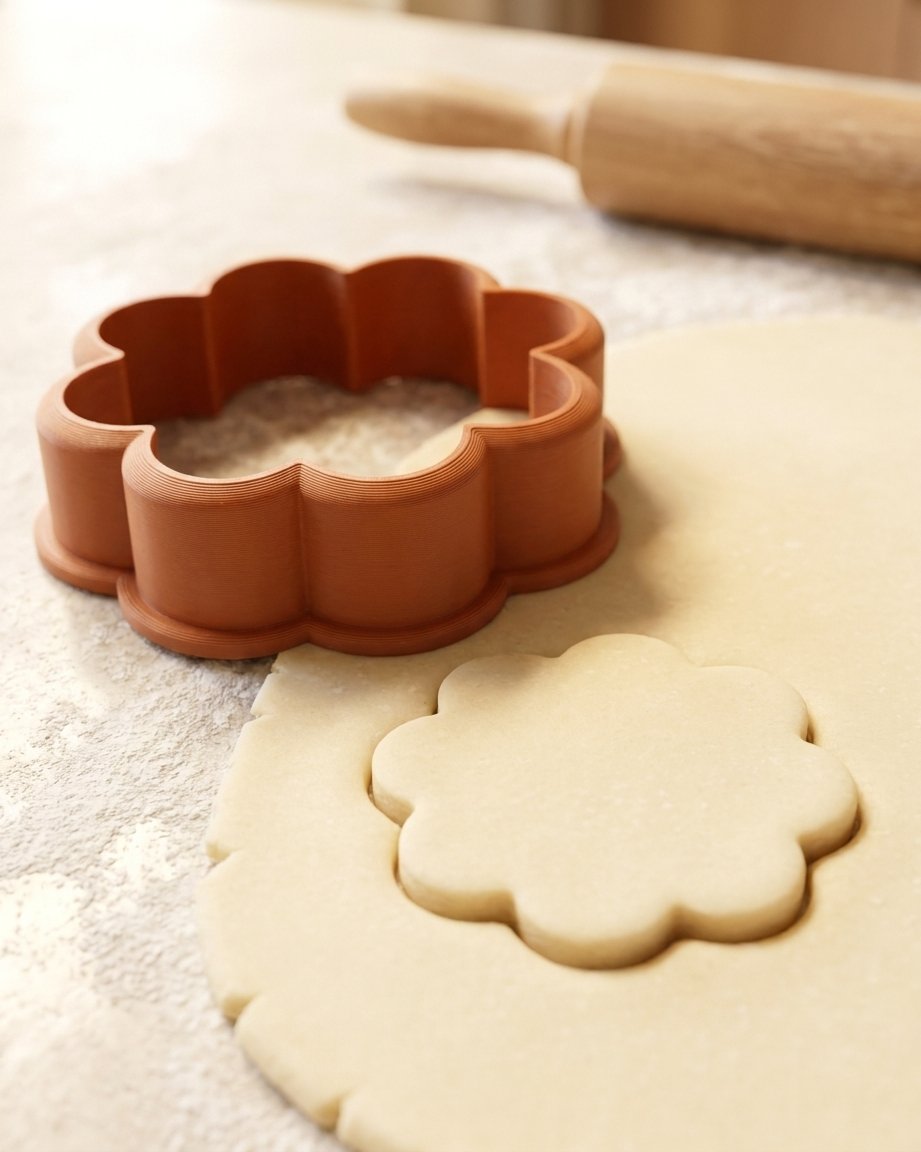
Even a perfect blade cuts better with a little technique on the counter:
- Chill the dough. Cold dough shears cleanly; warm dough smears. Fifteen minutes in the fridge before cutting is the single biggest upgrade.
- Flour the edge. A light dip in flour (or cornstarch for fondant) keeps the blade from dragging dough up with it.
- Press straight down, no twisting. A printed blade cuts on the push; twisting just smears the layers' texture into the edge of the cookie.
- Deburr once. If the very tip feels rough from the first layer of the taper, a single light pass with 400-grit sandpaper around the outside polishes it — once, gently, and only on the outside face.
Food safety, briefly. A sharp edge doesn't change the material rules: PLA is fine for short contact with cool dough, hand-washed in cool water and dried right away — treat it as a per-project tool. Baking with it, hot washing and the dishwasher are all off the table. For a cutter you'll use every week, print it in PETG and consider a food-safe finish.
Sharpness is a pipeline, not a setting: a tapered blade profile in the editor, fine layers and thin-wall slicing on the printer, a chilled dough on the counter. Set it up once and every design you trace from a drawing comes out cutting like it was ground, not printed.
Frequently asked questions
Can a 0.4 mm tip really be printed with a 0.4 mm nozzle?
Yes. With thin-wall or Arachne slicing enabled, the tip prints as a single adaptive extrusion on top of the tapering wall. Use fine layers (0.12–0.16 mm), a slow outer wall and full cooling — and if the sliced preview still shows gaps in the blade, raise the tip width to 0.6 mm in the editor and re-export.
Does a sharp cutting edge change the shape of my cookie?
No. Both blade profiles only taper the outside of the cutting wall; the inside face stays perfectly vertical. The cut cookie keeps the exact outline you drew — the bevel never eats into the design.
Which blade profile should I use for which dough?
Use the sharp cutting edge (rounded shoulder, adjustable tip width) for everyday cookie dough — it stays full-thickness lower down where the strength lives. Use the fondant taper, a knife-style blade over the full wall height, for fondant and thin, delicate doughs.
Why can't I just rescale the cutter in my slicer?
The blade geometry is computed in real millimeters, so scaling in the slicer changes the tip width too: at 90% a 0.4 mm tip becomes an unprintable 0.36 mm, and at 120% it becomes a blunt 0.48 mm ledge. Change the size in the editor instead, where the walls keep their set thickness.
Can I sand the printed edge even sharper?
One light pass with 400-grit sandpaper around the outside face polishes off any roughness from the first layer of the taper. Don't grind further — the tip is already at the printable minimum, and sanding the inside face would change the cookie shape.
Put an edge on your next cutter
Toggle the sharp cutting edge, set your tip width, and export a blade-ready STL.
Open the app →